The Next Two Steps in 3D Creativity
Just a quick update on my side trip into 3D printing. A while ago I shared my first project, frames for some small photos that I wanted to hang at my desk. They turned out pretty well, and with some paint, look great!
But I can’t stop there, right?
If I’m being honest, the creativity has little to do with the printing of the objects. I turn the designs over to the Engineering and Manufacturing class at my school, and they run the printers. I take whatever color is in the machine that is available. My projects get bottom of the list priority, as they should. But it’s another learning experience for the students. They are dealing with “client” designs and needs. So, it works for everyone.
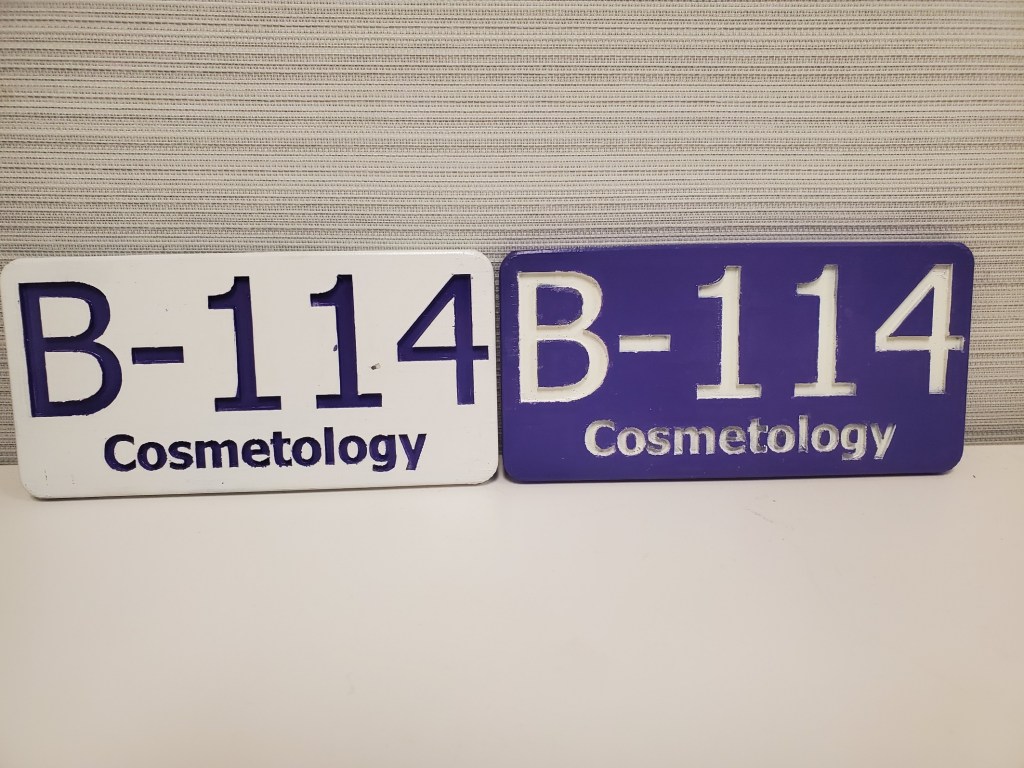
The latest projects are for other classes in the building. Students need a written pass to leave the classroom (primarily for bathroom breaks, but for any reason at all). This can be a bit of a hassle when you’re in the middle of a lesson. I expanded my design challenges by creating passes for our cosmetology class. The basic design is simple, a rectangle of a certain size with no sharp edges. To make the passes specific to that class I had the letters and numbers “embossed” into the surface (that’s the term in the CAD software). But it still would have left the passes in a boring gray color. That led me back to some experience with spray paint. I primed, then painted everything the main color. Once that dried, I covered the surface with tape and cut out the “stencil” of the letters and numbers. This turned out to be a much bigger pain the you know what than I expected. Because of the settings used by the class, some of the edges on the figures are ragged. I cut and sanded as much as I could. The result isn’t perfect but it’s not bad, IMO.
I’ve got one more project in this series under way right now. Details in a couple weeks. I hope.